Sticky bars typically lift conversions by 2%, and in many cases they outperform traditional popups by more than 40%.
It makes sense when you think about it. People are tired of intrusive, screen-blocking popups. What they actually respond to are messages that stay visible, feel intentional, and don’t interrupt their flow.
That’s exactly why sticky popup bars have taken off. You’ve seen them everywhere. Those slim banners that stay fixed to the top or bottom of the screen, quietly doing their job.
And here’s the thing. I have seen that most marketers already know sticky bars work, but they still struggle with the how. Making them mobile-friendly, dealing with theme conflicts, setting up targeting rules, or finding a plugin that isn’t bloated can get frustrating fast.
If that sounds familiar, you’re in the right place. In this guide, I’ll walk you through what sticky bars actually are, why they convert so well, how to set one up step by step, how to design and target it properly, how to fix the common issues, and what to do after someone subscribes.
Let’s go!
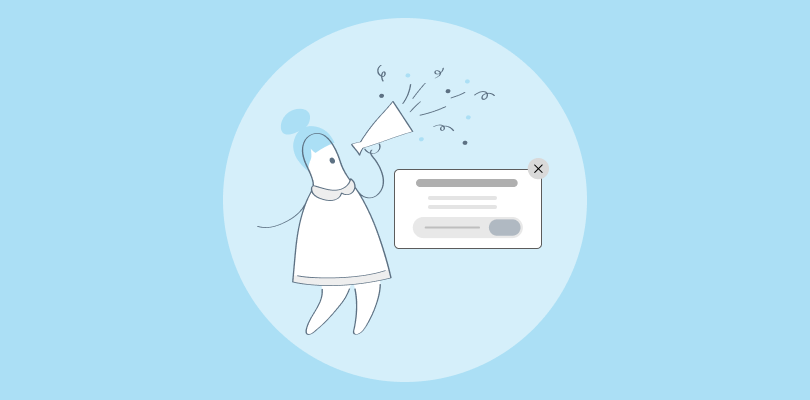
What Exactly Is a Sticky Popup Bar in WordPress?
A sticky or nano popup bar is basically a slim, fixed banner that stays glued to the screen while your visitors scroll through the page. It doesn’t jump out like a full-screen popup, but it never disappears either. Think of it as a friendly nudge that stays visible without getting in the way.
Here’s how it looks like:

You’ll usually see it in one of these spots:
- At the top of the screen
- At the bottom of the screen (a favorite for mobile)
- Floating in a corner like a tiny, persistent badge
And these bars work because they deliver simple, high-intent messages at the perfect moment. You’ve probably seen ones like:
- “Black Friday Early Access – 30% off everything – Grab it now”
- “Join 48,000 marketers – get the free checklist”
- “We use cookies (duh) – Accept or change settings”
- “Flash sale ends in 3 hours – code: FLASH30”
Why Use a Sticky Popup Bar on Your WordPress Site?
Let’s be honest. You might’ve heard that popups interrupt, annoy, and tank the user experience. But let me tell you that it happens when you don’t create and target your popups strategically.
Sticky bars are a different game altogether.
When you set them up the right way, they can deliver:
- High conversion rates on email signups and millions of views
- Instant visibility for urgent announcements, offers, or updates
- Smart site-wide or page-level targeting without touching code
- Strong performance on mobile, as long as you keep them clean and unobtrusive
- No negative impact on Core Web Vitals if you use a lightweight tool
So, you see, sticky bars work. They stay subtle, get noticed, and quietly boost conversions while visitors keep browsing. Your competitors are already using them, and now you can use them even better.
How Do You Make a Popup Sticky in WordPress
We’re going to use Picreel for this walkthrough because it’s fast, doesn’t bloat your site, and gives you advanced targeting without needing a PhD. The process is nearly identical with any reputable sticky popup wordpress plugin.
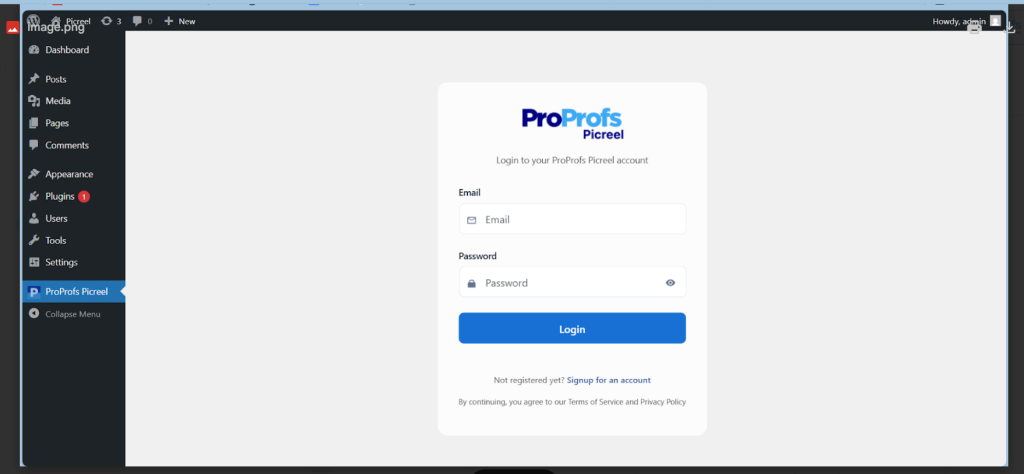
Step 1: Install and Activate the Plugin
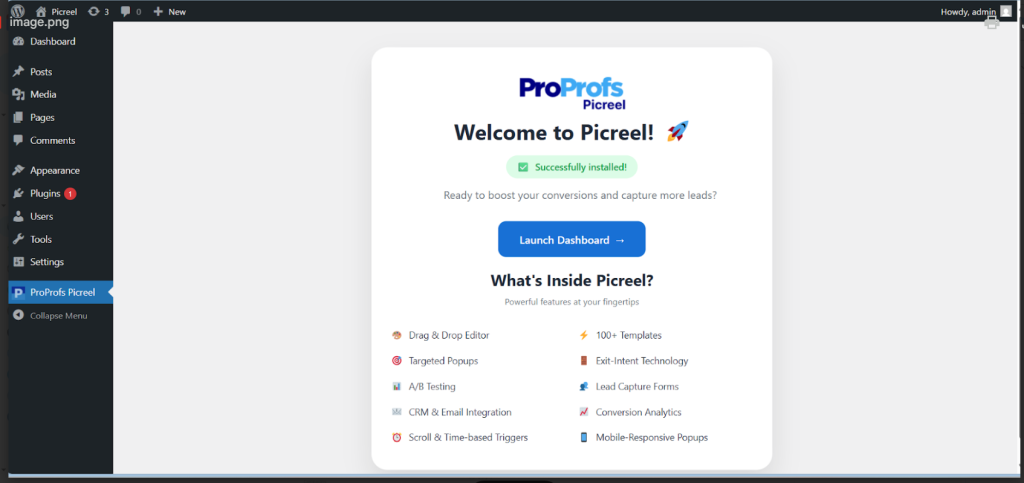
Log into your WordPress dashboard, go to WordPress Popup Plugin and select Add New, search for “Picreel,” then click Install Now and activate it. After activation, you’ll see “Picreel” in your WordPress sidebar.
From there, open the plugin’s dashboard to set up and manage your sticky popup bar. This is where you can adjust the design, customize the message, add your link or form fields, and control exactly how the bar behaves for your visitors.
Step 2: Launch the Sticky Bar Builder
Once you’re inside the dashboard, click Create New Campaign or Add Popup and choose the Nano/Sticky Bar template. This layout sits at the top, bottom, or corner of the screen and stays visible as visitors scroll, making it perfect for quick announcements and simple lead capture.

Here’s how to set it up effectively for sticky bars:
- Pick a template that matches your goal such as a discount bar, newsletter signup, announcement, or limited-time offer.
- Keep the form light. Many sticky bars perform best with a single email field or even a simple CTA button.
- Use short, direct copy since space is limited. A concise headline and one clear CTA like “Get 20% Off” or “Subscribe” works well.
- Choose colors with enough contrast so the text and button are easy to read without overwhelming the page.
- Keep visuals minimal. A small icon or emoji is enough because sticky bars rely on subtle visibility, not large graphics.
- Headline: 6–10 words max, such as “Get 20% Off Your First Order Today.”
- Sub-headline (optional): something simple like “No minimum. Code auto-applied.”
- Include an email field with a button or just a button that links to your sale page.
- Add a tiny brand icon or emoji for a small visual pop, and match your brand colors or use a high-contrast look if urgency is the goal.
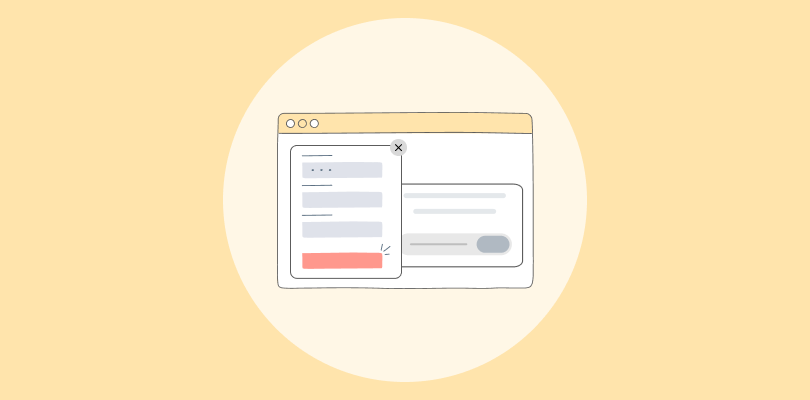
Here’s how your dashboard will look when customizing your sticky popup bar:

Pro Tip: A/B test two versions later. Version A with a discount, Version B with a free resource. You’ll be shocked which one wins.
Step 4: Pick Position and Device Behavior
Now choose where your sticky bar should appear based on how you want visitors to see and interact with it. Here are the placement options that work best:
- Top fixed (default, works everywhere)
- Bottom fixed (often converts better on mobile)
- Floating corner (least intrusive, great for announcements)
Expert Advice: Create a separate mobile version. Mobile screens are tiny like a 100px top bar eats 20% of the viewport and makes you look amateur. Switch to bottom position and shrink height to 60px max on phones.
Step 5: Set Display Rules
This is where the magic happens. Default settings show your bar to everyone immediately: congratulations, you just trained visitors to close it forever.
Smart targeting settings you must consider:
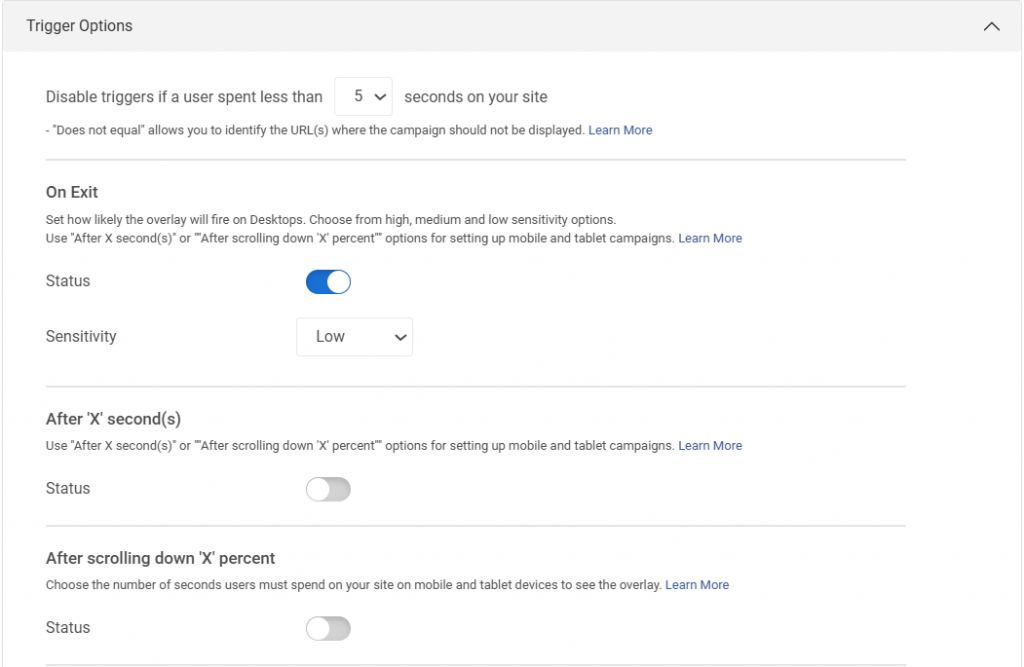
- Delay: 7–10 seconds (let them start reading) or immediately as it has to stay on the site anyway
- Frequency: Once every 7–14 days (don’t be desperate)
- Targeting:
- New visitors only (returning ones already saw it)
- Specific pages (blog posts yes, checkout no)
- Traffic source (Facebook ads, Google, direct)
- Device, language, UTM parameters
Step 6: Preview, Test, and Go Live
Before you go live, open the preview on desktop, tablet, and phone to make sure everything looks clean.
Scroll through your pages quickly to check that the bar doesn’t overlap your header or menu, then submit a test lead to confirm the data is being recorded correctly.
Once everything checks out, hit Publish and your sticky bar is officially live.
Congratulations. You just added a conversion machine that works while you sleep.
How to Make Your Sticky Bar Work Effectively on Mobile
I’ve seen too many sites where the sticky bar covers the hamburger menu or takes up a third of the screen. Visitors bounce instantly.
Follow these rules and you’ll be fine:
- Max height: 60–70px on mobile (50px is ideal)
- Always include a prominent close (X) button—tap target at least 48px
- Bottom position almost always wins on phones
- Use larger font (16px minimum) and big input fields
- Test on real devices, not just Chrome’s responsive mode
Do this wrong and you’ll kill your mobile conversions. Do it right and mobile will outperform desktop 2:1.
FREE. All Features. FOREVER!
Try our Forever FREE account with all premium features!
6 Common Sticky Bar Problems and Instant Fixes
Before you move on, here are some common sticky bar issues that many WordPress users run into and the quickest ways to resolve them. This list will save you time if your bar does not behave as expected.
| Problem | What You Can Do |
|---|---|
| Sticky bar not showing | Try clearing all layers of cache including your plugin cache, server cache, Cloudflare, and your browser. This usually makes the bar reappear instantly. |
| Sticky bar covering the header or menu | Adjust the top spacing with a small CSS tweak so the bar sits below your header instead of overlapping it. |
| Mobile version looks broken | Create a dedicated mobile campaign with its own layout and disable the desktop version on mobile devices. |
| Close button missing | Check your popup editor settings and turn on the close button toggle. Most tools hide it by default until you enable it. |
| Plugins conflicting with each other | Disable other popup or notification plugins one by one until the sticky bar starts working normally again. |
| Old sticky bar you did not create | Look inside your Picreel campaigns, widget areas, and theme options. Many themes come with built-in bars that need to be turned off manually. |
What Actually Happens After Someone Gives You Their Email
Getting the signup is only the first step. What really matters is what you do after a visitor submits their details. This is where the conversions actually happen. Here’s how the full post-submission flow works and how you can set it up yourself.
1. Lead Moves to Your Email Platform
When someone fills out your sticky bar, their details show up inside your popup plugin dashboard (for example, Picreel). If you have connected an email marketing tool like Mailchimp, Klaviyo, or HubSpot, their information is also sent there instantly.
How to set this up:
- Open your popup tool’s “Integrations”
- Connect your preferred platform using an API key
- Choose which list or audience the new lead should go into
This makes sure every subscriber is actually stored somewhere you can use later.
2. A Welcome Email Goes Out Automatically
You want new subscribers to receive something immediately, especially if you offered a discount, lead magnet, checklist, or guide. Waiting too long means they forget why they signed up.
How to set this up:
- In Mailchimp, Klaviyo, or HubSpot, create a new “Welcome Automation”
- Add a simple email: “Here’s your 20% code: WELCOME20” or “Here’s your checklist”
- Set it to send instantly after someone joins the list
This keeps subscribers engaged while your brand is still fresh in their mind.
3. Tag or Segment Your New Subscriber
Tagging helps you understand where someone came from and what they want. For a sticky bar, tags like these work well:
- sticky-bar-nov2025
- first-purchase-intent
- blog-reader
How to set this up:
- In your email tool, create tags or segments
- Add them automatically inside the popup integration settings
- Or use an automation rule: “If signup source is Sticky Bar, apply tag X”
This helps you send more relevant content later.
4. Add Them to a Simple Automation Sequence
Once they join your list, you need a short follow-up sequence. This builds trust and encourages the next action.
A basic flow looks like this:
- Immediate: Deliver the discount or lead magnet
- Day 3: Send helpful content (a guide, blog link, video, etc.)
- Day 7: Share a soft offer or another resource
How to set this up:
- Go to your automation builder
- Add three emails with the delays listed above
- Use your new tag (from step 3) as the trigger
This keeps the relationship warm and nudges them toward a conversion.
5. Track How the Sticky Bar Is Performing
You cannot improve what you do not measure. Most popup tools show key metrics right in the dashboard like impressions, submissions, conversion rate, desktop vs mobile performance.
How to use this information:
- If mobile converts better, create a dedicated mobile bar
- If desktop is weak, try a stronger headline or CTA
- If the conversion rate is below 2%, test new colors or wording
A few tweaks usually double results.
6. Stay Compliant With GDPR and privacy rules
If you get traffic from the EU, you need a consent checkbox. Tools like Picreel include GDPR checkboxes you can enable in seconds.
How to set this up:
- Open your popup editor
- Find the Consent section under input fields and consent
- Update the label text
This keeps you legally safe and transparent with users.
Boost Your Conversions With Sticky Popups on WordPress
By now, you’ve built a sticky popup contact form WordPress that stays visible without being annoying, works smoothly on every device, and quietly collects leads around the clock. It plugs straight into your email or CRM system, and you can duplicate it for every new offer or seasonal promotion you run.
The next steps are simple. Launch your first sticky bar today, let it run for a week, and review the results. After that, create two or three variations and let the data show you which one converts best.
You’ll be surprised how much more value you can squeeze from the traffic you already have. If you want an easy way to build, test, and manage these bars without slowing down your site, Picreel is a solid place to start.
Go set yours up, watch the numbers climb, and tell me how many new subscribers you pick up this week.
FREE. All Features. FOREVER!
Try our Forever FREE account with all premium features!
 We'd love your feedback!
What did you like & how can we make it even better?
 Thanks for your feedback!
 Ask Your Question
Have a question? Get expert help to make your decision easier.